How To Set Up The SEO Framework Plugin
Of all the SEO plugins available for WordPress, The SEO Framework is still one of the best ones in my opinion. The basic plugin is free, simple, lightweight and fast.
The SEO Framework plugin once installed and activated will appear on your dashboard in the menu on the left hand side, under the menu item, SEO. If you click on SEO, you will be taken to the plugin’s settings page.
The SEO Framework’s Settings page is one long page of options divided up into the following sections and sub-sections. For simplicity, I have pasted screenshots of the settings I usually set up with explanations where required.
What You’ll Need
You will need a couple of things already prepared for this plugin.
- A square version of your logo. It is required in a couple of places. If you do not have one, then you could use your favicon instead.
- A social media image for your home page. Make sure it is about 1200px x 530px and contains your branding, site address and some clue as to what your site is for/does.
General Settings
Layout
I use the following settings so that the plugin shows you the SEO data for each and every post and page when viewing lists of pages or post in the dashboard. Also by having the data available in the settings metabox you’ll see how well you’re doing as you type each SEO value in. Basically, these are settings that will change how the admin panel looks to you as the site owner.

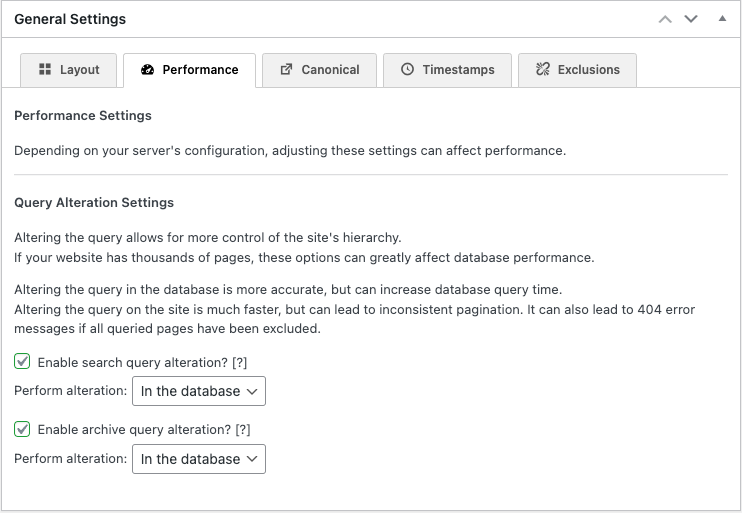
Performance
These settings are relevant if you have some posts, pages or archive pages that you want to exclude from the on-site search results. If you do not, then leave these unset. As my site does not have thousands of pages I am going for query alteration in the database in both cases. I often exclude certain pages from on-site search results so for me this setting is necessary.
Canonical
On the canonical settings it is good advice to check all three link relationship options. All this means is that when a page spills over into more than one page – such as is often the case with archive pages, or if a page has a lot of query string stuff added to the end of it for some reason, search engines won’t try to index all the variations of the original page arising from those events.
Your server should be set up to automatically set your site to redirect to the https protocol version of each page if someone types the wrong protocol, or no protocol at all. For example, if you type https://www.wordstamped.com my server will automatically redirect this to the https:// page. If your server is set up in the same way then you can also choose the drop down value that says detect automatically.

Timestamps
You can choose either timestamp format here. I choose the more accurate one, why not.

Exclusions
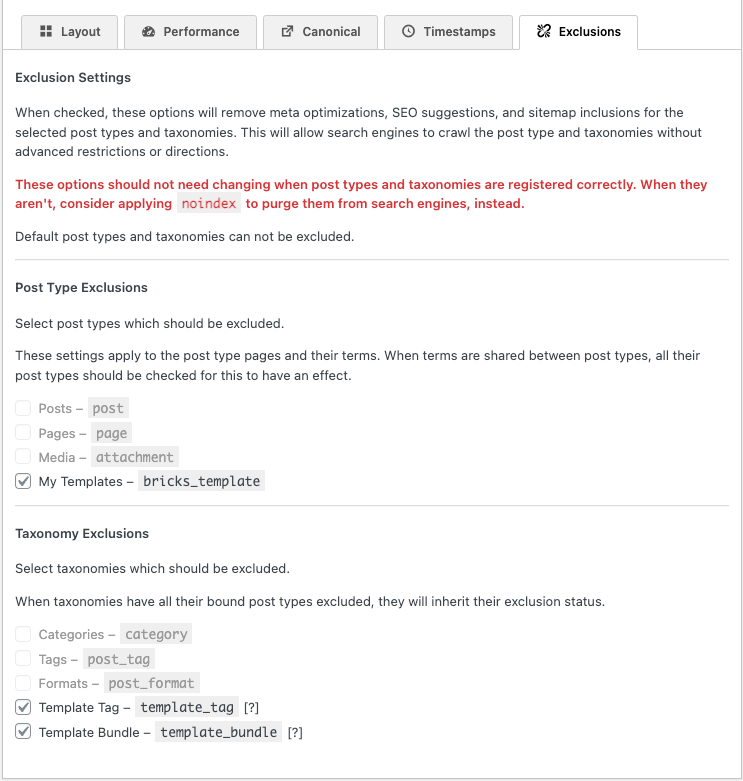
The posts, pages and media options were greyed out for me and should also be greyed out for you. If you have added your own custom posts types, then you will have the choice here to leave the boxes unchecked to include them in the site map. I think the instructions provided by the SEO Framework plugin here are confusing.
I want the custom post types I’ve explicitly created to appear it the site map. Anything to do with post types set up by your builder – in this case Bricks – should be excluded.
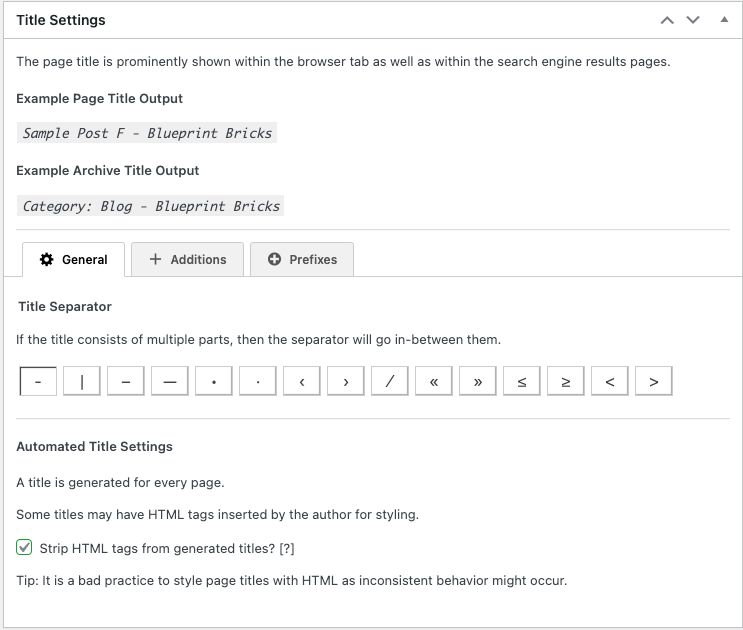
Title Settings
General
Choose a separator symbol for the automatic title tag generation, and check the Strip HTML tags from generated titles box.
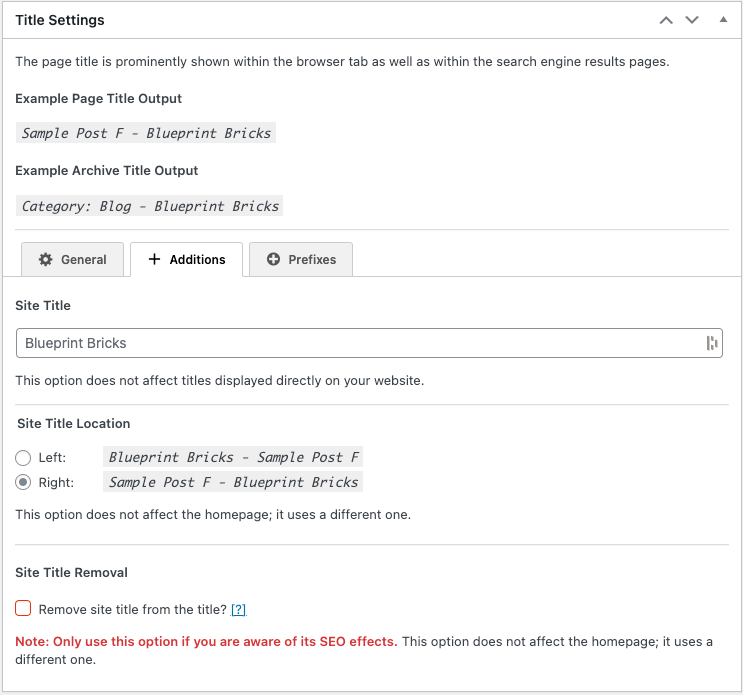
Additions
Think of the shortest word or phrase you can that represents your brand. Obviously here I am using Bootstrap as this is my bootstrap site, but on a real site this might be the short form of your brand name. If it’s too long you won’t have much room left for the actual title tag. Choose to place the site title on the right.
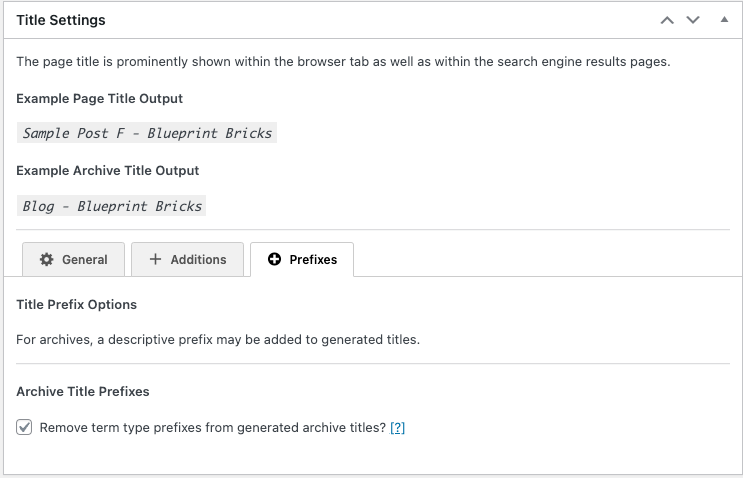
Prefixes
On some sites I go to a lot of trouble to make archive and tag pages look convincing (like real hand-written pages) so I don’t really want to leave clues that they are really low-quality, generated pages by allowing the use of Category or Tag in the title tag. So I remove these.
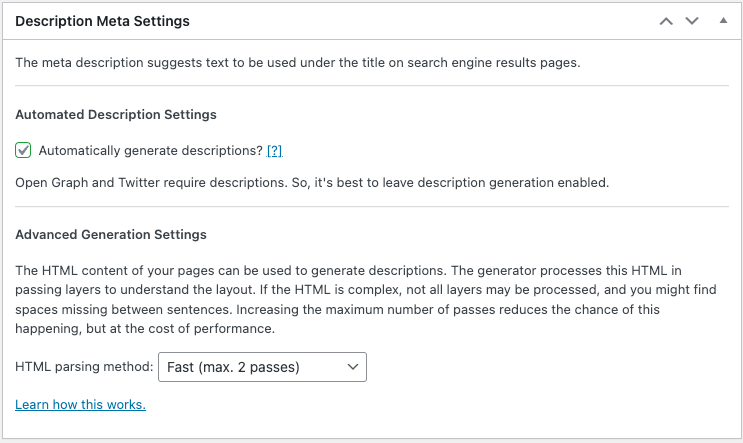
Description Meta Settings
We want these to be generated, as we will not always have time to write them by hand. However, you should always overwrite the auto-generated meta descriptions and titles if you can, on a post by post, or page by page, basis. You should check all meta descriptions anyway – so if the generated ones are not sufficent, edit them manually.
Homepage Settings
General
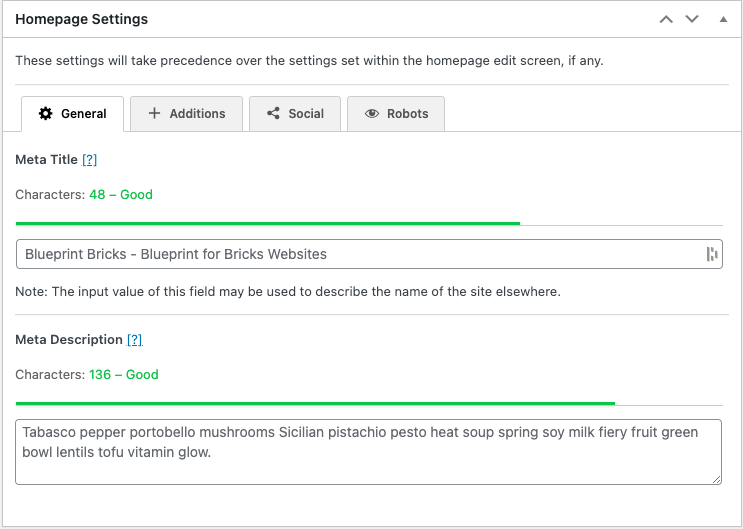
The homepage title tag will be generated from data you’ve already entered. If you don’t like what is generated then manually overtype it with something else.
Enter an excellent meta description manually. Remember these values will be used on your home page so they need to be good. Ensure you get two good scores in green here too.
Additions
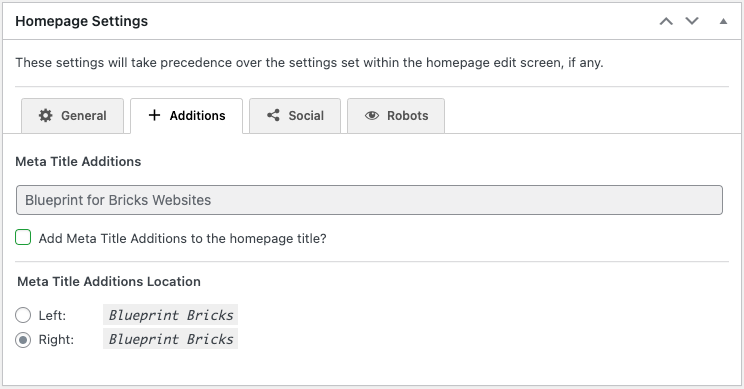
In the case of the home page I think it’s best to leave the additions off. As it’s only one page and arguably the most important page, it’s best to fully handwrite the title and the description with no generated additions as show here.
Social
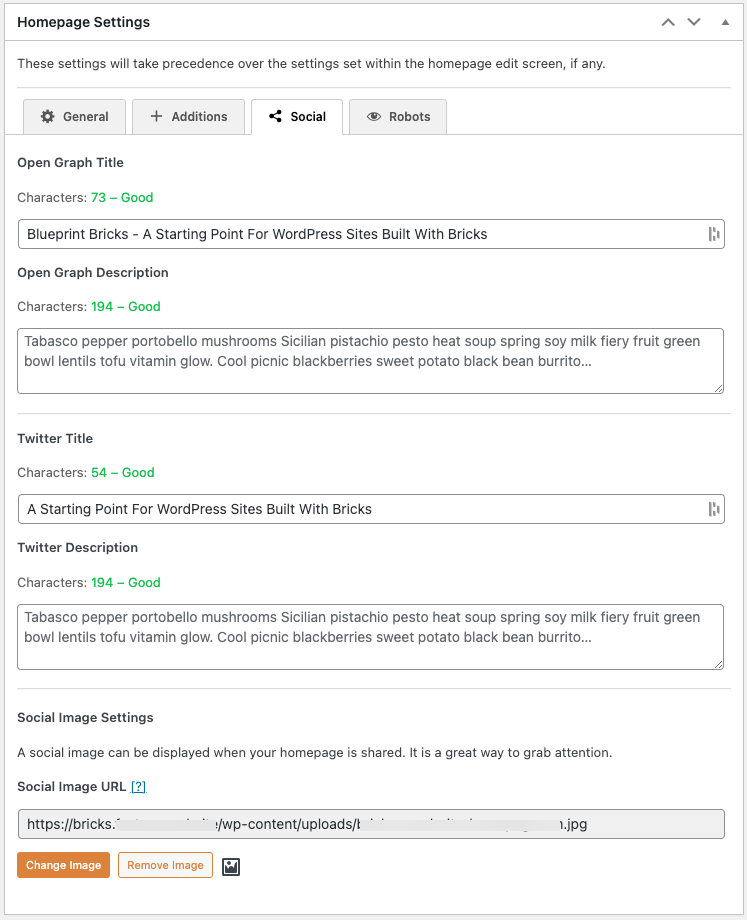
These are the settings for the home page so do make an effort with these. Make sure to provide a good social media image too for the home page, as if anyone posts your home page to social media, that’s the image that will be used. The image should be 1200px x 630px. Consider making it also have your branding and site name on it too, and some clue as to what your product or service is. Obviously for the bootstrap site I am not bothering with all that – I just have a photo of a pair of boots. But if this is for your real site you will need to put more effort into the social media graphic for the home page.
The home page of your site is the one that will be Facebooked, Tweeted or social-media platformed the most, so it is worth it. For example here is the home page social media posts I have made for one of my client sites. It should generally represent the main purpose of your site.

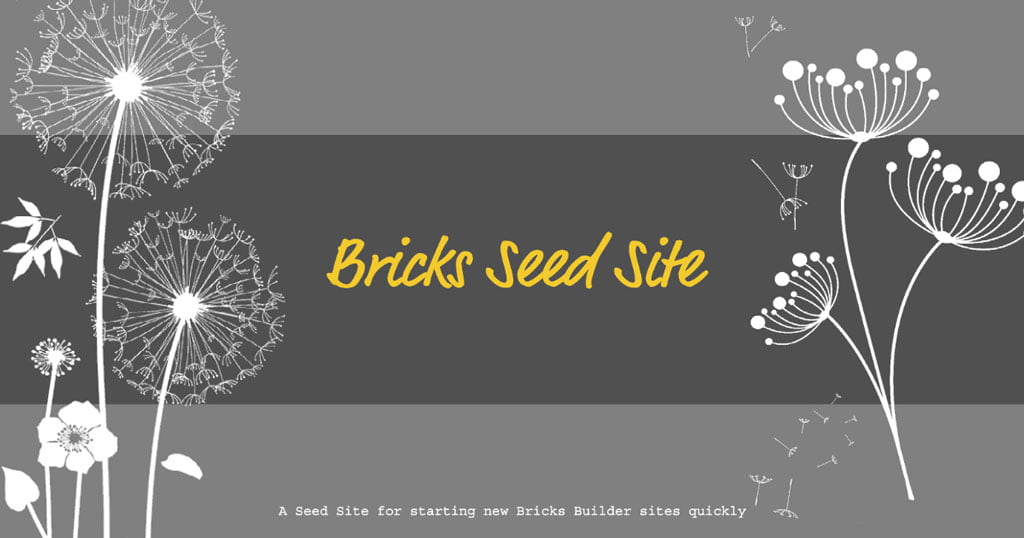
For the Seed Site, I made something that of course will never be shared, but it is in the Seed Site to remind me to replace with with something relevant on the any site I build.
Robots
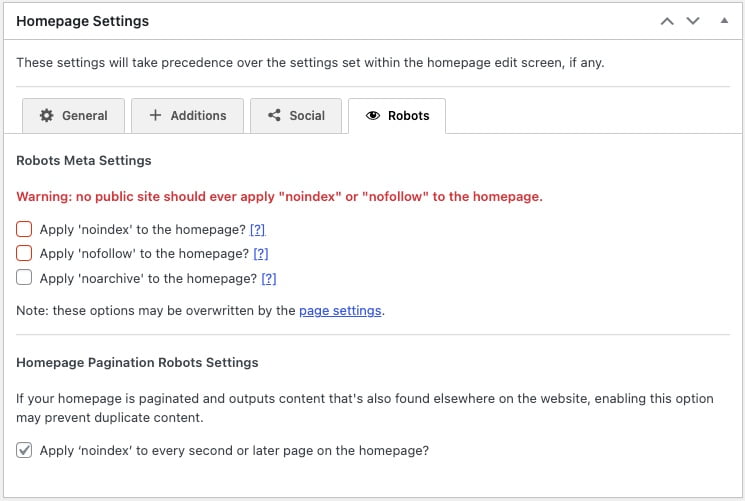
The following settings should be good for everyone. But in any case, I always check the Apply noindex to every second or later page on the home page option.
Post Type Archive Settings
You may not have a setting page for these if you have no custom posts types or if you do, but you have excluded them from the sitemap and from SEO settings in an earlier settings page. I won’t screenshot these settings, but if you do have a settings page, provide the SEO values for each archive’s Title and Meta Description as fully as you can.
Social Meta Settings
Here are my recommended social settings. Always specify a social image fallback which will be used in the case where you forget to provide a specific social media image for a post or page. You could use the same image that you used as your home page social media image for this.
While you are at it, use your main brand colour for the theme colour.
General
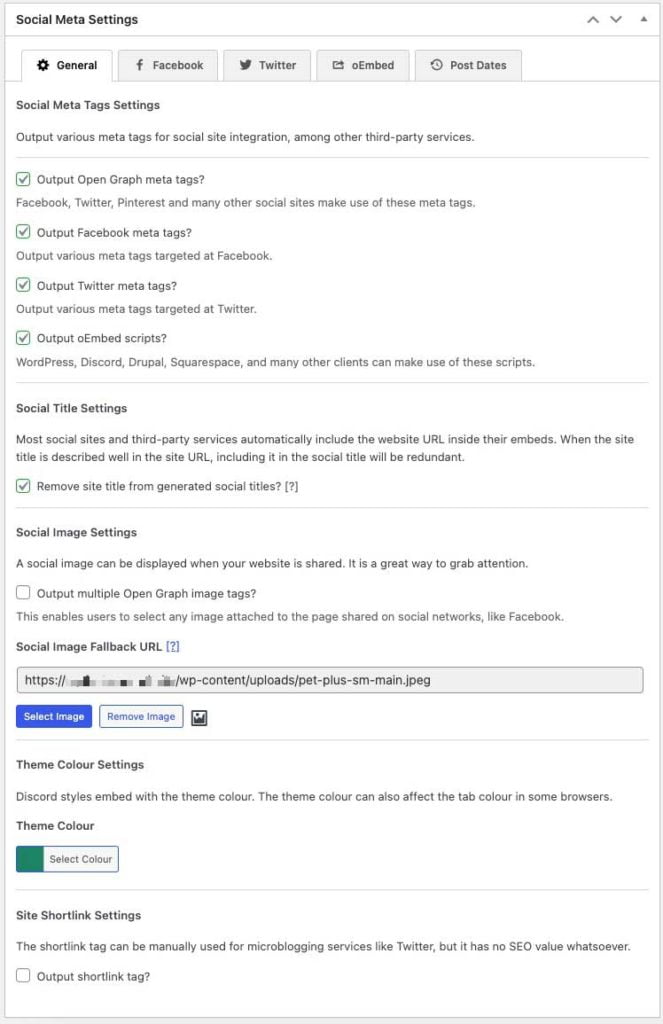
If you have a Facebook App Id you can enter it. It is used by Facebook when using their services where they need to collect data about your site. If you are not advertising on Facebook you won’t need to do this.
Also if you have a Facebook Business Page or a Facebook Profile page you can specify them here.

Make sure you select the large Twitter card type. The Card and Content attribution is not required and does not seem to work very well.

oEmbed
You definitely want LinkedIn to use the social image you’ve gone to the trouble of setting up, rather than any featured image.

Post Dates
I think showing dates is generally a good thing. But you may disagree.

Schema.Org Settings
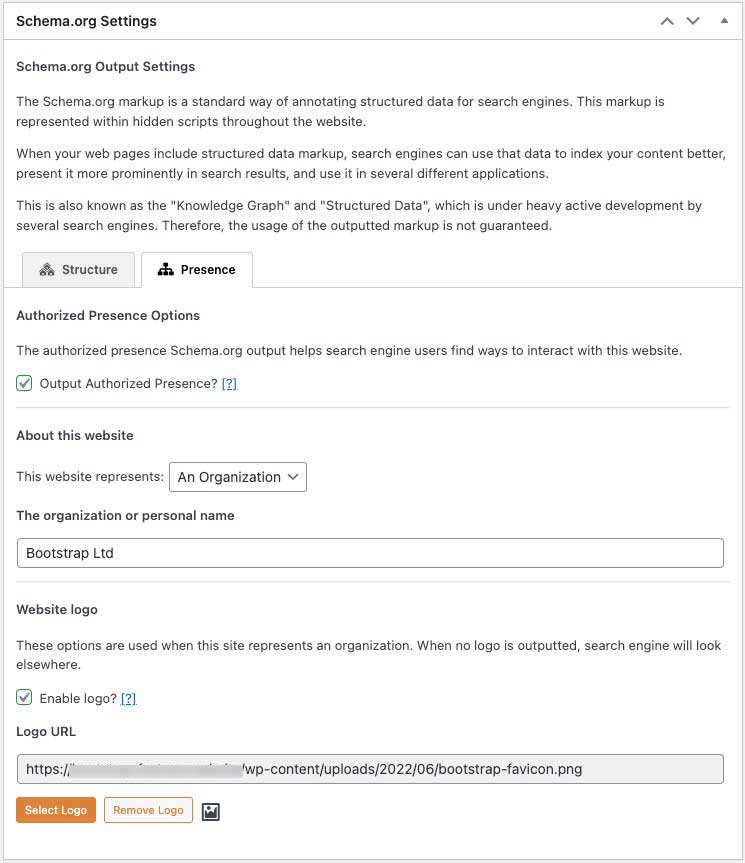
There are better plugins for representing schema on your site, for example Slim SEO Schema. So if you are using one of these plugins you can skip adding anything in this section of the SEO Framework.
Structure

Presence
Again if you are using a dedicated plugin, maybe keep all of this unchecked. But if you do use this, then make sure you specify a square version of your logo here.
Robots Meta Settings
General
Follow the settings shown to prevent search engines crawling fake archives, crawling second and subsequent pages of archives, and to help protect your content from scrapers.

Indexing
These settings are up to you. But I normally want posts, pages categories and tags and author pages to be indexed.

Following
You can leave all of these unset if you wish. I am happy with the internal links generated from tags and archives. In fact they are vital for SEO imho.

Archiving
Apply noarchive to the content that will change the most. Unless you have content that is fairly static. I often update post content as one of the topics I write about goes out of date very quickly.

Webmaster Meta Settings
I don’t set any of these as I add this type of data using other methods. Use these if you wish.

Sitemap Settings
General
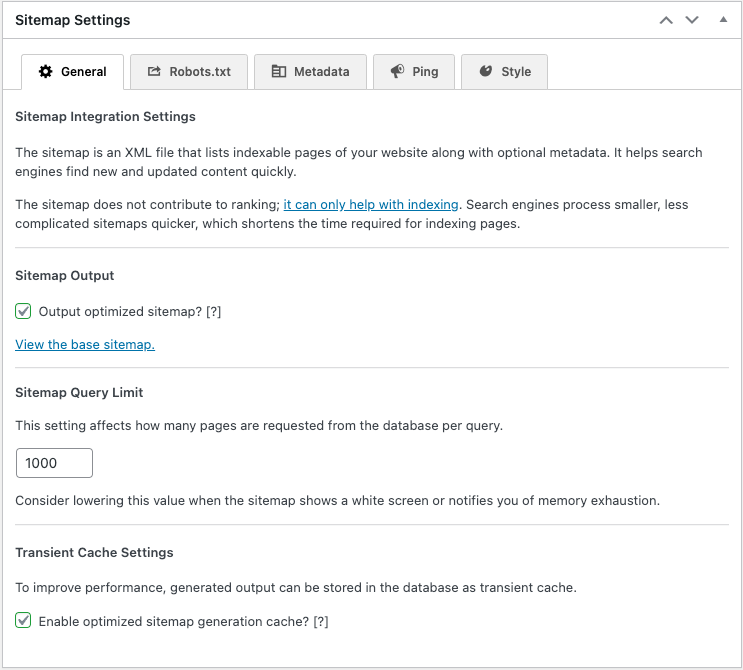
Yes – you want a sitemap.
Robots
Yes you want a robots.txt file with the sitemap added.

Metadata
Keep the sitemap fresh by telling the search engines when you update content.

Ping
Yes you want Google and Bing to be notified of new content.

Style
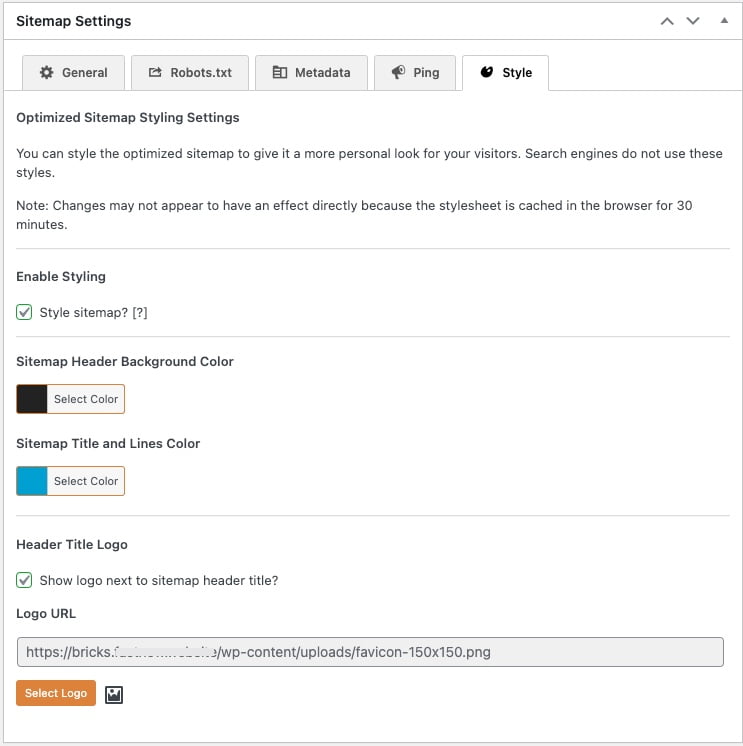
This set of settings is all about styling (minimally) the site map output. Use a square logo here too.
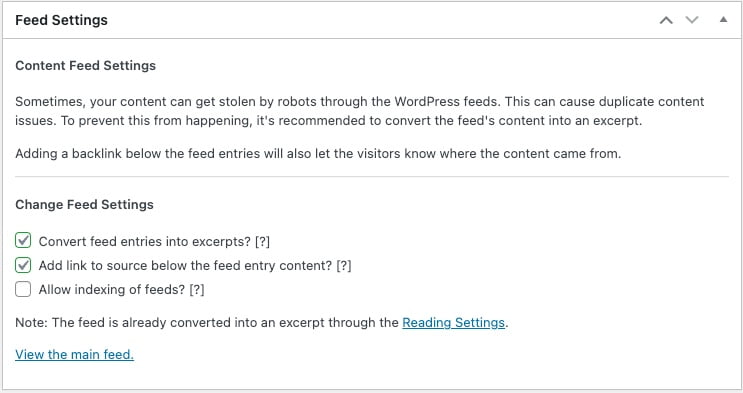
Feed Settings
Content Feed Settings
